To fix the “email could not be sent” issue, you need to take the following steps:
Use an SMTP plugin to configure your site to send emails using a dedicated service instead of PHP mail()
Update hosting firewall rules or install “Sendmail”Note: You don’t need to carry out both the steps. Implement one solution at a time and then try sending out emails. Disabling the mail() function is the most common reason why emails are prevented from going out of a WordPress website, so you might not need to implement the step.
- How SMTP plugin works
- Install & set up SMTP plugin
- Update hosting firewall rules or install “Sendmail”
- How SMTP plugin works
If your host has disabled the “mail(),” then it’s best to reach out to them and ask to enable the function.
But if seeking help from hosting provider is not convenient, use a WordPress SMTP plugin to send emails from your website and fix the “your host may have disabled the mail() function” error.
SMTP plugins route outgoing emails through a different mail server, bypassing the need for the “mail()” function.
After WordPress generates an email, the SMTP plugin intercepts it instead of relying on the hosting server’s “mail()” function. It takes the email content and sends it to its SMTP server. The SMTP server, which is not your hosting server, processes the email and delivers it to the recipient’s email server.
This process is independent of your hosting server’s “mail()” function.
Let’s set up the SMTP plugin on your WordPress website.

Install & set up SMTP plugin and fix email could not be sent
For this tutorial, we are going to use the WP Mail SMTP plugin plugin.
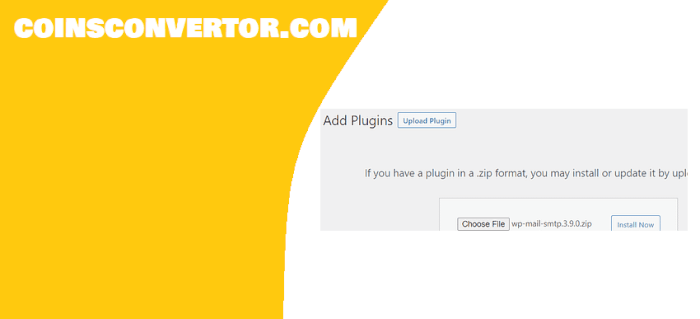
Install the plugin by going to Plugins → Add New.

Of course, you can choose any other SMTP plugin like Post SMTP Mailer, Easy WP SMTP by SendLayer, and Fluent SMTP. The steps you need to take to set these up are almost identical.
As soon as you install the SMTP plugin, it’ll open a setup widget where you can connect the plugin with an email marketing service.
You can also access the setup widget from your dashboard. Next step of tutorial how to fix the “email could not be sent” easy ist:
Go to WP Mail SMTP → General → Primary Connection → Launch Setup Widget.

Select your preferred email marketing service and use the plugin’s official guide to establish a connection between the plugin and the service.
After establishing the connection, test if WordPress is sending emails by going to WP Mail SMTP → Test Email. If you encounter any issues while testing emails, the plugin requires troubleshooting. You can also seek help from the developers on the WordPress support forum. Finis , this is tips how to fix the “email could not be sent” easy. Thanks for reading, see at more tutorias of wordpress:
